
Visualise the Process When using the Patented REZICAST™ Home Building System it can take as little as 14 days to get to Lock-up. Let’s step through the process of a typical single level home build to lock –up stage as this is where the real gains are made…...

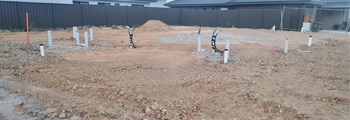
Cut/Level Site & Excavate Pads for the Precast Panels to be placed. As a fully engineered solution placing the panels on concrete pads and pouring the slab at later date is unique part of the system that creates efficiencies and superior structural performance. Excavate for plumbing if necessary.
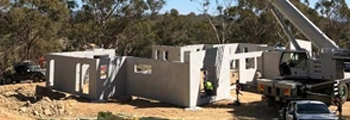
Precast panels are trucked to the site for installation. Cranes are set up, prior to trucks arriving, ready to lift panels into place one by one. As the panels are being placed the temporary props are positioned to secure the panels. Once all the panels are placed and secure the crane will lift each roof truss into position.
With the external walls and trusses in place the structure is secure. The props can be removed so the plumber can do all the internal drainage works ready for inspection. The precast panels can be primed and ready for painting, if that is the chosen finish. The electrician can install the Power Meter Box into the panel opening and connect to Mains Power. Once the Plumbing is done the Concreting Contractor can commence preparation for the floor slab.

Concreting Contractor finishes floor slab preparation ready to pour. Paint the exterior of the precast panels which is usually done in a rendered paint e.g. Wattyl Granolimpact or Taubman Armawall depending on the finish the client has selected. Texture rollers can do around windows and doors without cutting in before windows are installed.
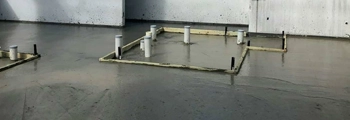
The concreting contractor can pour and finish the floor slab. A Boom Pump is used through the trusses or alternatively a Line Pump is used through a window or door opening. Note: If necessary the roof can go on before the floor slab is done hence the option to use the Line Pump instead of a Boom through the truss spacings.
Continuation and tidying up of the previous day’s work as required.
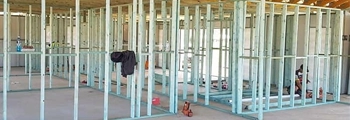
Start roof, fascia and gutter. Internal wall framing can start – (pre-fab or onsite construction). If Pre-fab frames are used these can be walked through garage/alfresco/panel openings. Install Windows.
Continuation and tidying up of the previous day’s work for all trades as required.
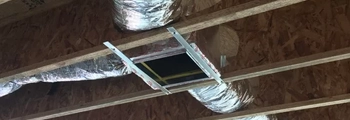
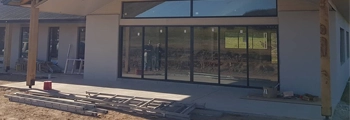
The plumbing, electrical & ducting can be started if practicable. The roof can be finished and eaves placed. Install all external doors.
Continuation and tidying up of the previous day’s work for all trades as required.
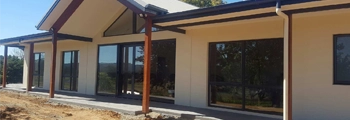
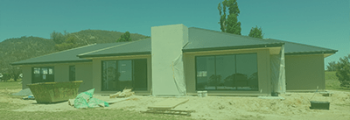
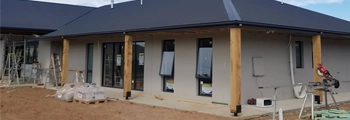
The home should be all locked up and ready for you to send the lock-up invoice to your client and have you well on your way to completing within 16 weeks.